
Punjab cuisine
Chapati
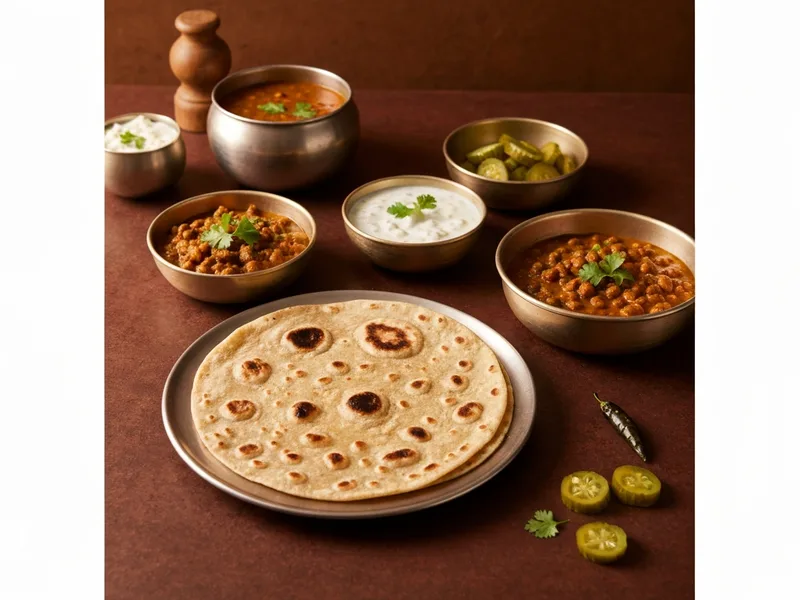
Chapati is a traditional Punjab Pakistani dish. Chapati is the everyday whole-wheat flatbread at the heart of Pakistani home cooking — thin, soft, and cooked on a tawa before being placed directly on the gas flame to puff up into a golden, steam-filled balloon. It is the simplest bread you will ever make and the most forgiving, requiring nothing more than flour, water, and practice. Once you make good chapati at home, you will never look at store-bought the same way again.
No other bread is more central to Pakistani daily life than chapati.
The word 'chapati' comes from the Sanskrit 'chapat,' meaning flat or a slap — referring to the motion used to flatten the dough. It appears at every meal — breakfast with eggs, lunch with dal, dinner with karahi — rolled fresh and cooked on the tawa by generations of home cooks for whom making chapati is as automatic as breathing. The technique has two stages: the tawa (griddle) stage, where the bread sets and cooks through, and the flame stage, where direct heat causes the steam inside to expand dramatically and puff the bread into a ball — a sign of perfectly rolled, evenly cooked chapati. This puff is the gold standard, and when yours first puffs, the satisfaction is genuinely joyful.
Ingredients
Instructions
- MAKE THE DOUGH: Put the atta in a wide paraat (mixing bowl). If using salt, add it now and mix into the flour. Make a well in the centre. Add warm water a little at a time — start with ½ cup and mix after each addition. Add water until the dough comes together. You want a dough that is softer than paratha dough — it should feel very soft and slightly tacky but not stick to your hands when you press and pull. If adding oil or ghee, add it now and knead it in. HINT: Different atta brands absorb different amounts of water. Add the last few tablespoons slowly and stop as soon as the dough feels right — like a very soft earlobe. WHY: Chapati dough is softer than paratha dough because it needs to roll out extremely thin and then puff — stiffer dough does not trap steam as well and will not puff properly.
- KNEAD UNTIL SMOOTH: Knead the dough for 7–8 minutes — longer than for paratha. Push forward with the heel of your hand, fold back, turn 90 degrees, and repeat. The dough is ready when it is very smooth, not sticky, and you can stretch a small piece without it tearing immediately. FUN FACT: This stretching test is called the 'windowpane test' in Western baking. For chapati, you do not need a perfect thin film, but the dough should stretch noticeably before tearing. This tells you the gluten structure is developed enough to trap the steam that causes the puff.
- REST THE DOUGH: Cover the dough ball with a damp cloth or an inverted bowl and leave for 20–30 minutes minimum. Do not skip this. WHY: Resting lets the gluten strands relax — like letting stretched elastic go slack. Rested dough rolls out smoothly in large, even circles. Unrested dough springs back toward the centre every time you roll it, making a thin, even chapati almost impossible.
- DIVIDE INTO BALLS (LOI): Divide the dough into 8–10 equal portions. Roll each piece between your palms into a smooth ball with no cracks on the surface — cracks indicate the dough needs a touch more water or kneading. HINT: Cover the dough balls you are not working on with the damp cloth so they do not dry out and form a skin.
- ROLL THE CHAPATI: Dust a dough ball lightly in dry flour and place on your chakla (rolling board). Use your belan (rolling pin) to roll from the centre outward, applying even pressure. Rotate the chapati a quarter turn after every two or three strokes — this keeps it round and ensures even thickness. Roll until the chapati is about 20–22 cm across and thin enough that you can just see your hand through it when held up to the light. HINT: If the dough sticks, dust more flour under it. If it keeps springing back, let it rest for 2 more minutes under the cloth — the gluten is still tense. The shape does not have to be a perfect circle. Odd shapes cook just the same.
- COOK ON THE TAWA — FIRST STAGE: Heat your tawa (flat griddle pan) over medium-high heat for 2–3 minutes. It should be quite hot — hold your palm near the surface for 2 seconds and it should feel strongly warm. Place the rolled chapati on the dry tawa (no oil). After about 30–45 seconds, you will see the surface start to look drier and small bubbles will appear. Flip with a spatula or chimta (tongs). Cook the second side for 30–45 seconds — you should see light golden-brown spots forming on the cooked side. FUN FACT: These first two sides on the tawa are cooking the dough through and building the outer crust. The puff happens at the next stage — the chapati is like a two-act play.
- COOK ON THE FLAME — THE PUFF STAGE: This is the moment. Using chimta (tongs), carefully pick up the chapati after its second flip and place it directly on the gas flame, with the last side that was up on the tawa now facing the flame. HINT: Use tongs with a firm grip and place the chapati centred over a medium-low flame. Within 5–10 seconds, you should see the chapati puff up like a balloon — dramatically and satisfyingly — as the steam inside expands. Once puffed, flip the chapati with the tongs so the other side gets 3–5 seconds on the flame. The chapati should have some charred spots and the puffed sides should feel light and hollow. WHY: The puff tells you the chapati was rolled evenly and cooked properly on both tawa sides — steam only distributes evenly when there are no thick patches. A chapati that puffs on only one side was rolled unevenly. If your chapati does not puff at all, the tawa stages may have taken too long and dried out the interior — be quicker on the tawa next time.
- FINISH AND STACK: Transfer the puffed chapati to a roti basket or plate lined with a cloth. It will deflate slightly — that is normal. Optionally brush a tiny smear of ghee on the surface for extra softness. Cover to keep warm and repeat with remaining dough balls. Cook and serve in batches — chapati is best eaten within 5 minutes of coming off the flame.
Essential for This Recipe
As an Amazon Associate, we earn from qualifying purchases
Pure Ghee (Clarified Butter)
The authentic cooking fat for Pakistani dishes — adds rich flavor that oil can't match
Chef's Secrets
- The softer the dough, the better the puff — err on the side of soft rather than stiff.
- Rest the dough for at least 20 minutes — unrested dough will not roll thin evenly.
- Get the tawa properly hot before you start — a hot tawa sets the chapati quickly; a cold tawa makes it dry out before it cooks.
- Be quick on the tawa — too long on each side overdries the interior and prevents a good puff.
- If cooking on an electric hob with no gas flame, place the chapati on the tawa's edge over maximum heat, or use the oven grill (broiler) on maximum for 30 seconds per side after the tawa stage.
Common Questions
How long does Chapati take to make?
Total time is 50m — 30m prep and 20m cooking.
How many servings does this recipe make?
This recipe makes 8 servings, and is rated easy difficulty.
Which region of Pakistan is Chapati from?
Chapati is from Punjab, Pakistan — one of the country's most distinctive culinary traditions.
What do you serve with Chapati?
Chapati goes with everything: dal (lentils), sabzi (vegetable curry), karahi, keema, nihari, and more. It is also eaten plain with a little ghee and salt for the simplest and most comforting of meals. Fresh is always better than reheated — make only as many as you will eat immediately.
Goes Well With
Butter Naan (Home Tawa Method)
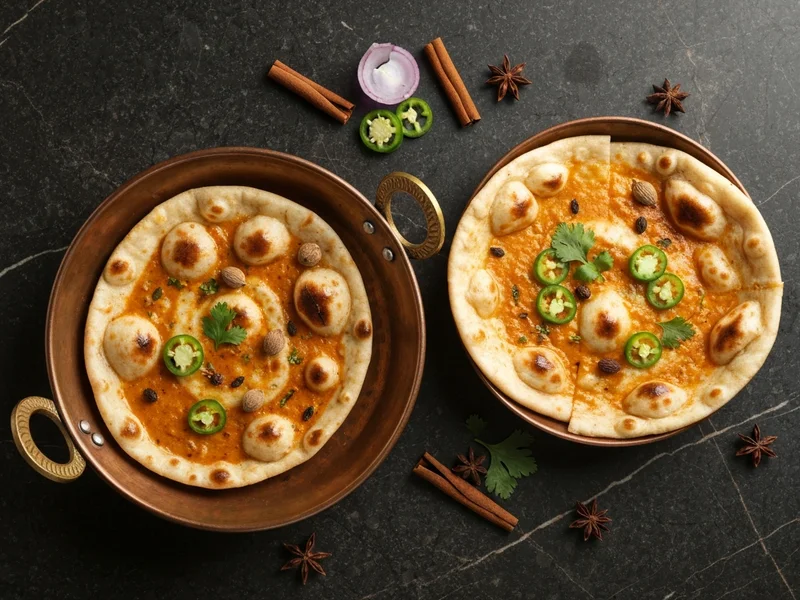
Soft, pillowy butter naan made at home on a tawa (flat griddle) — no tandoor required. Brushed with makhan (butter) the moment it comes off the heat, this leavened flatbread is the perfect vehicle for any Pakistani curry.
Roghni Naan
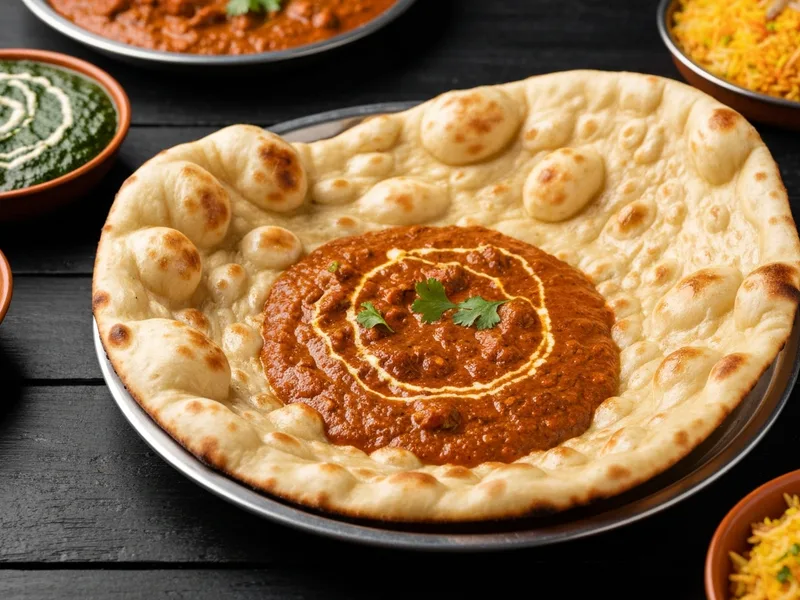
Roghni Naan is the Rolls-Royce of Pakistani bread — leavened, egg-enriched, oil-glossed, and studded with sesame and nigella seeds, baked until golden and billowy. It is the bread that makes any meal feel like a celebration, and once you've baked your own, the bakery version will never quite measure up.
Garlic Naan
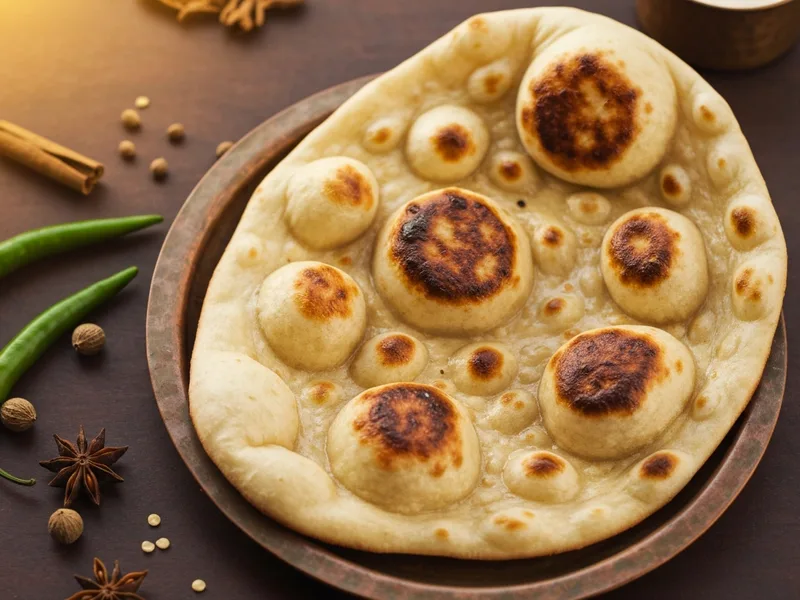
Garlic Naan takes everything great about a classic leavened naan and then — at the very last second — hits it with raw garlic butter and fresh coriander that cook against the bread's scorching heat. It is aggressively good, impossible to stop eating, and ready in under 10 minutes of baking.
Cite This Recipe
Writing about Pakistani food? Use these ready-made citations.
<a href="https://pakistani.recipes/recipes/garlic-naan/garlic-naan/">Garlic Naan</a> — Pakistani Recipes
Ahmed Khan. "Garlic Naan." Pakistani Recipes, 2024. https://pakistani.recipes/recipes/garlic-naan/garlic-naan/
Ahmed Khan. (2024). Garlic Naan. Pakistani Recipes. Retrieved 2026-07-20, from https://pakistani.recipes/recipes/garlic-naan/garlic-naan/
What Cooks Are Saying
The instructions are so clear and easy to follow. Came out perfectly first try.