Punjab cuisine
Mutton Katakat
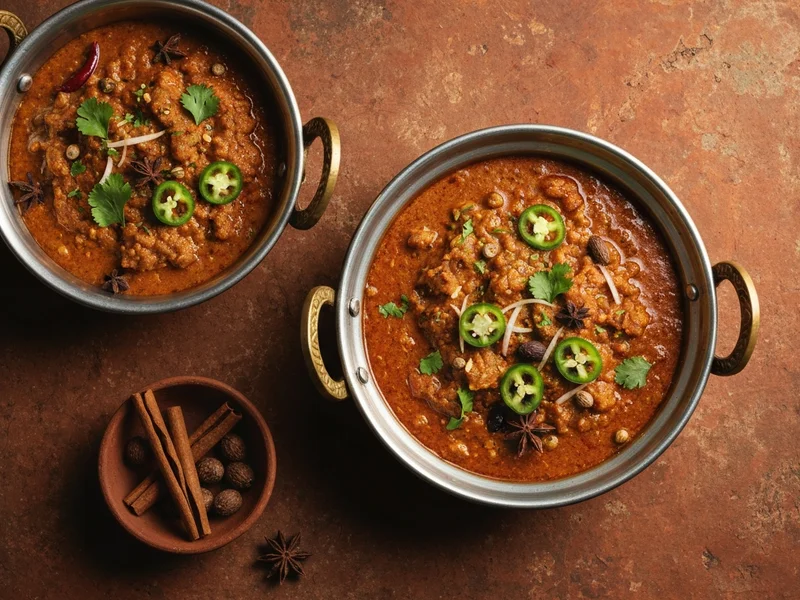
Mutton Katakat is a traditional Punjab Pakistani dish. Mutton Katakat replaces organ meats with boneless mutton pieces for those who want the authentic katakat technique and flavour experience without the offal. Richly spiced, intensely bhunoed, and deeply satisfying.
Katakat doesn't have to mean offal — and Mutton Katakat is proof.
This nose-to-tail philosophy predates its modern trendy rebranding by centuries — in traditional cooking, organ meats were often considered more valuable than muscle meat. This version uses boneless mutton pieces cooked with the same continuous chopping technique on a tawa, producing a dish that has the characteristic texture and concentrated flavour of katakat without the organ meat element. It's an excellent entry point for katakat beginners, and it converts easily into a family favourite. The katakat technique — continuous chopping while cooking — tenderises and integrates the meat with the masala in a way that no other cooking method achieves. Fun fact: the chopping technique also aerates the meat as it cooks, which is one reason katakat has such a distinct texture from karahi or stew-style cooking. Physics, meet Pakistani street food.
Ingredients
Instructions
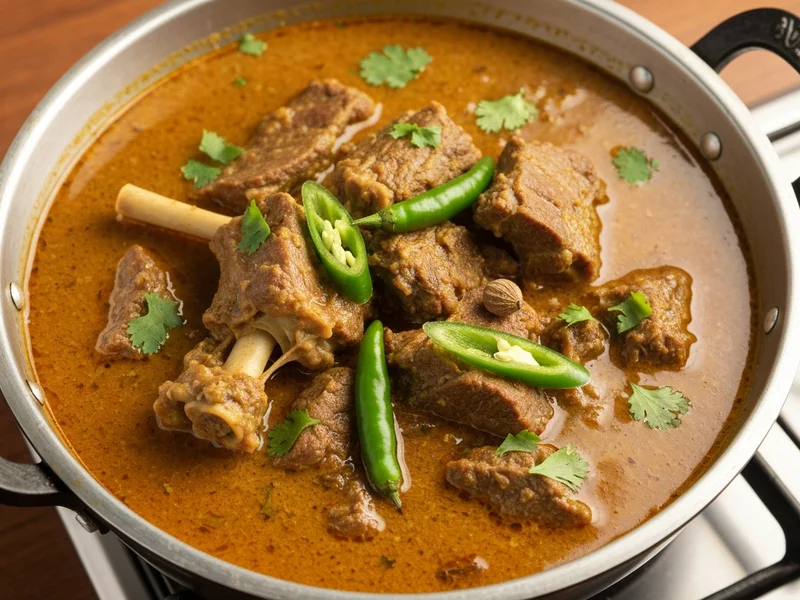
- PARTIAL PRE-COOK: Unlike offal, mutton needs pre-cooking. Pressure cook the boneless mutton with a little salt and 1 cup water for 15-20 minutes until 70% tender. This shortcut allows the bhuno phase to finish it properly.
- MASALA BASE: Heat oil in a large flat tawa or heavy pan. Fry onions until golden. Add ginger garlic paste, fry 2 minutes. Add all dry spices and stir 1 minute.
- TOMATOES: Add tomatoes and cook on high for 10-12 minutes until thick masala forms with oil separation.
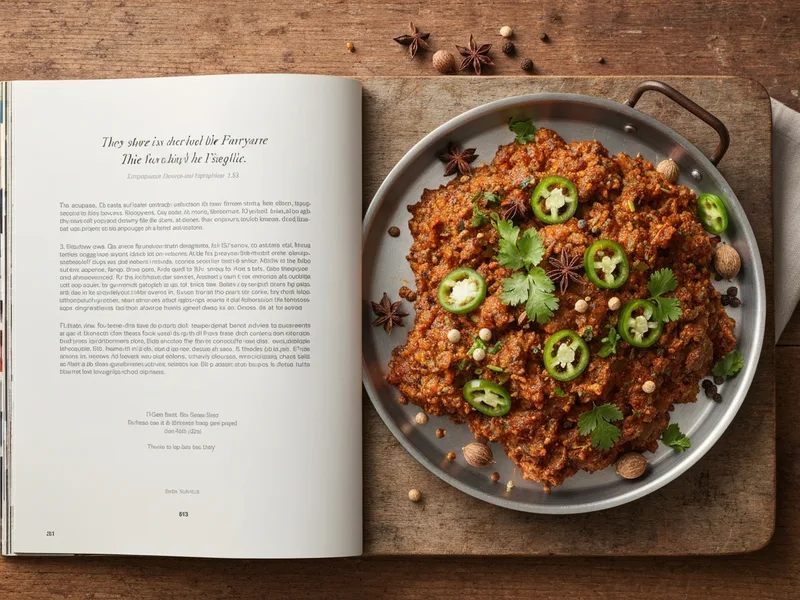
- MUTTON ON TAWA: Add par-cooked mutton pieces and green chillies to the masala on the tawa. Begin the katakat technique — using a metal scraper or spatula, continuously chop and fold the mutton into the masala.
- KATA-KATA PHASE: Cook on high heat for 15-20 minutes with continuous chopping and stirring. The mutton pieces will break down slightly from the chopping, becoming tender and integrating with the masala. This is the technique that defines katakat.
- BUTTER AND FINISH: Add butter and kasuri methi. Bhuno vigorously for 3 more minutes. The masala should coat every piece of mutton with a sticky, concentrated layer. Garnish with ginger juliennes and serve immediately.
Chef's Secrets
- Pre-cooking the mutton is essential — raw mutton on the tawa takes too long and dries the masala
- The chopping technique is not just for show — it genuinely changes the texture of the meat
- Continuous high heat throughout the kata-kata phase — don't reduce the flame
- Kasuri methi at the end is the aromatic that makes mutton katakat truly special
Common Questions
How long does Mutton Katakat take to make?
Total time is 1h 10m — 20m prep and 50m cooking.
How many servings does this recipe make?
This recipe makes 4 servings, and is rated hard difficulty.
Which region of Pakistan is Mutton Katakat from?
Mutton Katakat is from Punjab, Pakistan — one of the country's most distinctive culinary traditions.
What do you serve with Mutton Katakat?
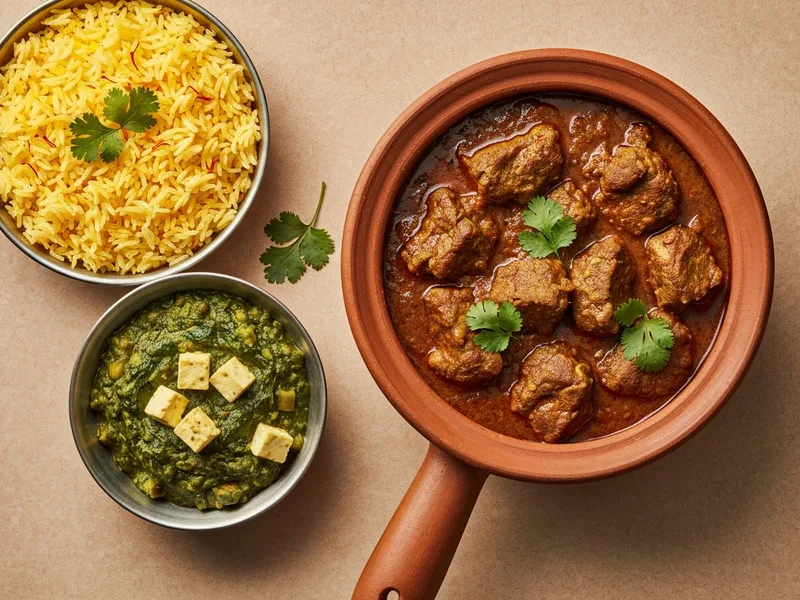
Serve on the tawa with thick naan. Sliced onions, lemon wedges, and fresh coriander chutney. A raita on the side for cooling between bites.
Goes Well With
Lahori Katakat — The Chopping Rhythm Street Food
Lahore's most theatrical street food — offal and meat chopped rhythmically on a convex iron tawa with two metal spatulas, spiced on the fly. Named for the sound the blades make.
Karachi Katakat
Karachi Katakat brings the famous chopped organ meat dish to Sindhi territory — with characteristic Karachi boldness, more tomato, and a spice profile that's both familiar and distinctly different from the Lahori original.
Classic Lahori Nihari
The ultimate slow-cooked breakfast stew — beef shank and bone marrow simmered overnight in a dozen spices. Old Lahore's most legendary dish.
What Cooks Are Saying
This recipe is a keeper. Followed it exactly and it turned out perfect.
Delicious and fairly straightforward. A few steps took longer than expected but the result was worth it.
Leave a Review
Tried this recipe? Share your experience — your review helps other cooks.